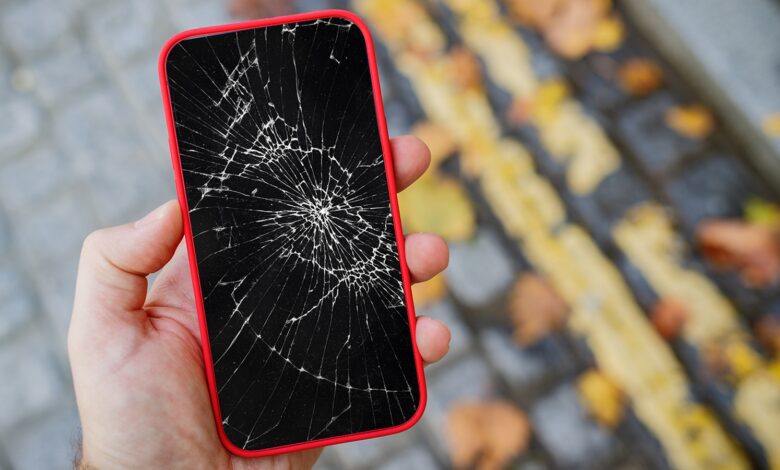
One of the most common problems almost every smartphone user experiences is a cracked screen. The phone screen will break when it is dropped to the ground from a height or when you accidentally put a heavyweight item on it. Even using other objects like a stylus will result in screen cracks.
Sometimes, the cost of the phone screen repair might be costly, depending on the total damage. Also, you may not get your phone back immediately from the service store. Thus, if you want to repair your cracked phone screen at home, we have the best methods.
6 Best Ways You Can Use To Repair Your Cracked Phone Screen
Here are some of the best and most effective ways you can rely on to repair your cracked mobile screen at home.
Use Toothpaste

It may seem strange to use toothpaste to clean your phone screen, but it is an effective method. It is a productive technique for repairing a damaged phone screen at home, which has been in use since a long time. If you are interested in learning how to fix a cracked phone screen at home by using toothpaste, then follow the directions below:
- Apply the toothpaste to the screen’s broken area.
- Slowly rub it in and set it aside for some time.
- After a few minutes, wash it off with clean cotton.
Cleaning the phone screen with toothpaste may not eliminate all of the spots, but it does help to repair the broken region. However, it is effective on minor blemishes and fissures. So, this method is not a permanent treatment for phone screens that are often used. In short, the toothpaste will make the breaks less noticeable.
Use Sugru Glue
Sugru is a moldable glue kit that can be used to fix cracked screens instead of replacing them. It can be an ideal treatment for breaks that scatter from the phone screen’s corners. On the other hand, it will only be a temporary cure for huge cracks that circulate across the entire screen, like spider cracks.
Here are step by step instructions:
- Using a soft cleaning towel, rub and clean your screen. Take caution not to pick any loose glass while doing so.
- Apply transparent adhesive tape to the cracked area. When the phone is turned on, it works well.
- Dot over the tape to reveal the boundary around the patch region. It conserves the sugru patch from entering the areas you do not need.
- Put tiny amounts of the patch on the broken screen. Make sure to put it on the patch in a thin layer. If necessary, slowly add more.
Use Nail Polish
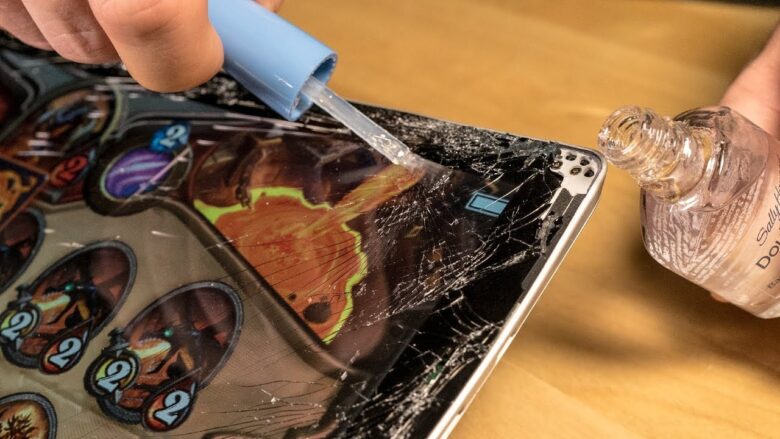
Nail polish is a popular accessory in most households. The nail polish can be utilized for more than just decorating your nails as it can also be used to repair a cracked phone screen. The following are the steps for applying nail polish to your phone screen:
- On the cracked region, put on the nail paint.
- Leave it for some minutes so that it will dry.
- Using a sharp razor blade, scrape off the dry finish.
- Repeat the procedure again until you see the cracks disappear.
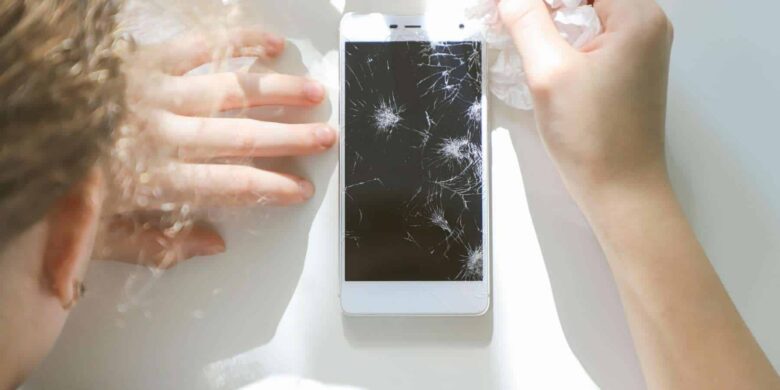
Use Tape
Here is another DIY hack you can use to repair your cracked mobile screen. Besides that, you only need a tape for this method. If your mobile’s screen is shattered, it is better to tape over the glass to deter further breakage and bodily harm when you use it.
Cover the phone’s display with overlapping pieces of tape until the entire screen is covered. When prying and raising the display, it will protect glass shards and give structural integrity.
Wear protective glasses to keep your eyes safe from any shattered glass throughout the repair. If getting a suction cup to stick to the screen is hard due to the cracked glass, it is better to fold a strong piece of duct tape into a handle to raise the display.
Use Eraser Products For Tiny Scratches
You can utilize a household eraser pad or a pencil eraser if your sole concern is minor scratches and cracks on your mobile screen. The magic erasers have the capacity to remove screen scratches in a few seconds. Put gentle rubbing pressure on the corner of the cleaning pad that has been dampened.
The pencil erasers are also a good alternative to vanish the scratches and little cracks. Simply use the eraser to rub the scratch left and right for roughly 60 seconds. After that, rub it for another 60 seconds in an upward and downward direction.
Replace The Screen
If the screen on your phone has been severely damaged, you will need to replace it or purchase a new device. Because of the device’s tiny internal architecture, repairing the LCD panel is a difficult task. The phone’s exterior case must be entirely dismantled during the repair procedure. It is even easier if the replacement screen includes a top frame.
If not, you may need to seal the coverings to maintain structural integrity and moisture or dust safety. You can utilize double-sided adhesive tape or sealing pads, depending on the size of the device. Using B-7000/T-7000 glue to replace a phone screen is an easy approach. If you wish to acquire a screen and other spare parts for your phone screen repair, you can find here.
Purchase and utilize a static wristband and a static guard mat to prevent any electrical components from being accidentally fired while disassembling and reassembling the phone. Disassemble the device to identify the degree of the damage and what screen parts to acquire.
Find the LCD screen’s model number and Google search this number to discover a replacement screen. The part or model number is frequently published on the label attached to the sensor cord that connects the screen to the device. After you have separated the screen from the rest of the equipment, you will be able to access this cable.
Bottom Line
We have mentioned the possible methods that are effective to repair your phone screen at home by yourself. As you can see, if the cracks are minimal, you can repair them with ease. However, if the damage is severe, the repair procedure is complicated.