Did you know that you can easily enhance your workflow in Adobe Premiere Pro with multiple benefits of the track targeting feature?
Working with Premiere Pro’s timeline can be exhausting even for experienced video editors. Too many actions have to be performed there: trimming, track syncing and targeting, track locking, and other actions. Today, we’ll review the track targeting feature pre-installed in the Adobe Premiere Pro interface.
Covering the basics: how to target a track?

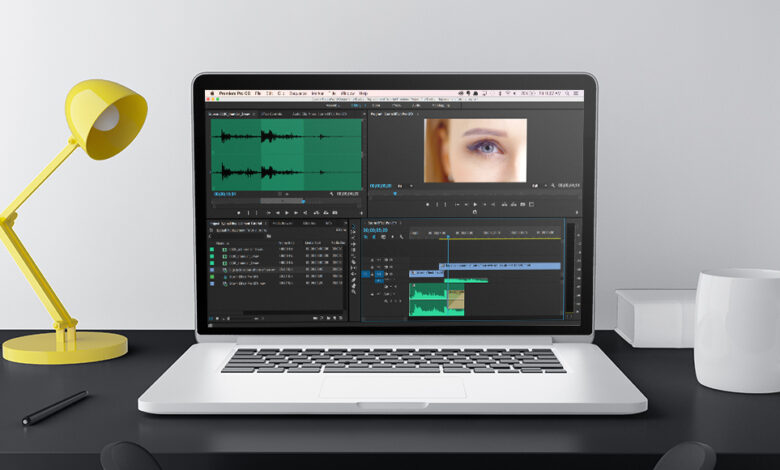
As you probably already know, Adobe Premiere Pro’s timeline has video and audio tracks. The first ones are labeled with V, and audio tracks are labeled with A. Also, every track on your timeline has its own number. For example, the first video track will be labeled as V1, the second will be labeled V2. The same goes for audio tracks. Timeline allows you to navigate through these tracks, add, edit, or delete them if you need.
So, how do you target a certain track? It’s actually quite simple: just click on the track’s number, and the track you choose will be highlighted in blue. You can do this to multiple tracks at the same time.
How can you use track targeting?
This essential feature allows you to conveniently navigate and, overall, work with clips on your timeline. Let’s overview your options here.
- First, you can use this feature to navigate faster through your tracks and clips on them. This can be easily done with the use of up and down buttons ‒ when you’ve selected some tracks, these buttons will help you snap the playhead to the first or the last frame of any clip you’ve selected. This is the kind of feature you’ll definitely like because your workflow will speed up tremendously. After a few tries, you won’t even notice how you use this feature automatically.
- You can have extra control over your tracks and clips. The use of the track targeting feature allows you to copy clips and paste them automatically to the first numerical track from the selection. For example, when you target tracks 2, 3, and 5 and copy a clip from track 1 after you hit the paste shortcut it will be immediately pasted to track 2.
- Also, you can match frames with this feature. Premiere Pro finds a source frame from the highest targeted track and adds it to the source monitor. It’s really convenient to use when you have a lot of clips to be trimmed and swapped.
Sure, this is not the one and only tool that allows you to improve your workflow like that. As the time goes by, you’ll notice how convenient all these tips are ‒ up to the point where you won’t notice you’re actually using them.