There is nothing worse than having poor aerial reception, and if something like that happens, we need to either change the position of the antenna or purchase another one. In case you have an old aerial in your home, or if you want to choose a different provider, then you need to install it properly. The installation process does not take a lot of time, and it is really simple. Most people can do it themselves, but they don’t want to risk things.
In case you want to replace your existing antenna, and you want to create a DIY project out of it, we are here to help you! In this guide, we are going to give you some tips on what to pay attention to, how to avoid the common mistakes and we will also help you learn about the benefits that come from installing the antenna on your own.
1. Choose cables
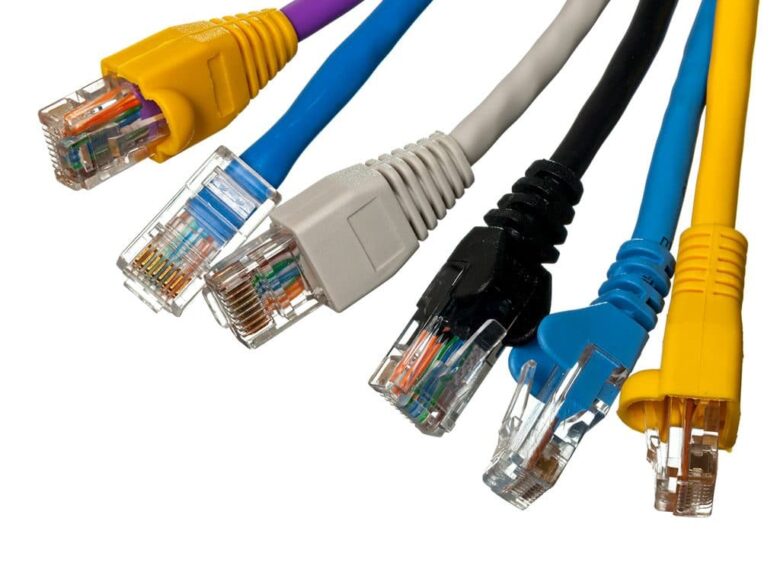
The first thing that you need to think about when deciding how to install the antenna at home is the cables. When we rely on other people to do the installation at our home, we don’t know the equipment they are going to use.
In case you decide to tackle this project, then you need to do a better job than anyone else. If you don’t want the signal to be interrupted, and if you don’t want to risk a fire in your home, then you need to get some great cables.
Don’t use the old cables that you just found in your home, as they may be faulty without you noticing them. Purchase the right things, depending on the antenna you decided to buy. Most units come with their own cables, so make sure you inspect them before the installation process.
2. Price

The most significant benefit of doing a DIY project is the money you are going to save. When we rely on a third-party service to do the process for us, we have to pay a lot of money for that.
The whole process should not take more than 15 to 30 minutes, depending on the location of the antenna. And for a service like that, sometimes we are required to spend hundreds of dollars.
When doing this on your own, make sure you spend some time researching how to do it correctly and watch tutorials.
One of the best things you can do and still save up some money is to talk to your provider or the place where you purchased the antenna. Some providers offer free installation services and you should check that option out. You can also click here if you want to learn more when it’s time to call professional service and how you can avoid common mistakes when tacking the DIY project.
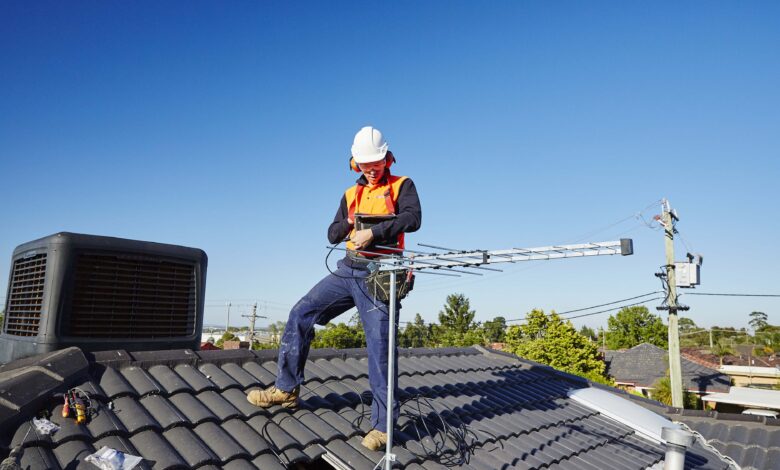
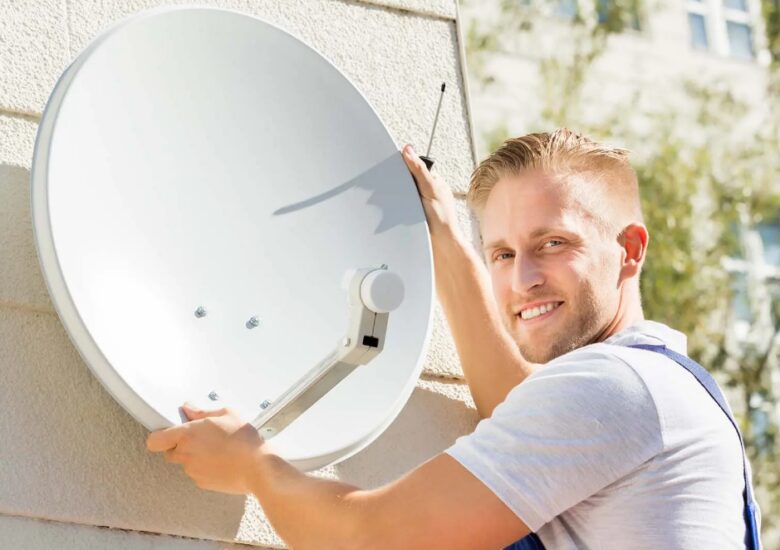
3. Position
When someone else is installing your antenna, they will not bother to look for the best position possible. This is especially true when it comes to indoor devices. They should always be positioned as high as possible, and you should also put them near a window.
Depending on the positioning of the broadcasting tower of your provider, you should turn the aerial in a way that it faces the tower, says tvaerialinstaller.co.uk.
Some units need to be placed horizontally and some of them work the best when they are placed vertically. The great thing about doing these things on your own is that you can test several positions and locations.
Start by installing the antenna on the ceiling, or if you have an attic, that’s even better. Try putting it in different places and see which position works the best. Don’t forget to restart the router every time you change the location or the placement of the unit, so you can really see if there is a difference.
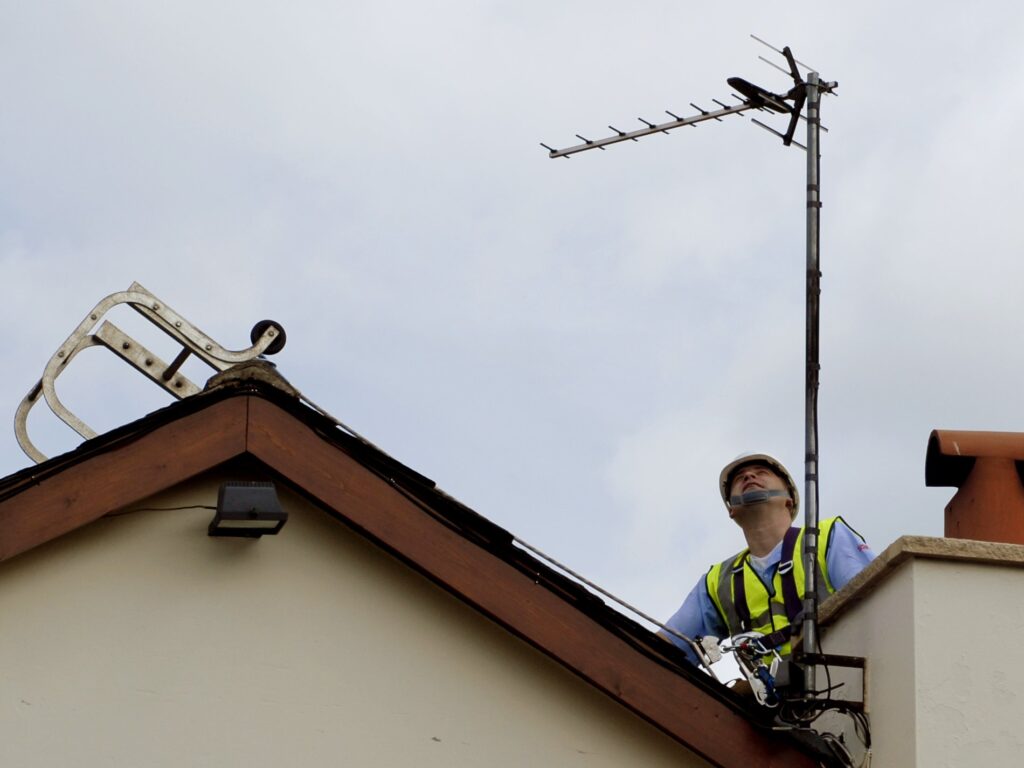
4. Amplifiers
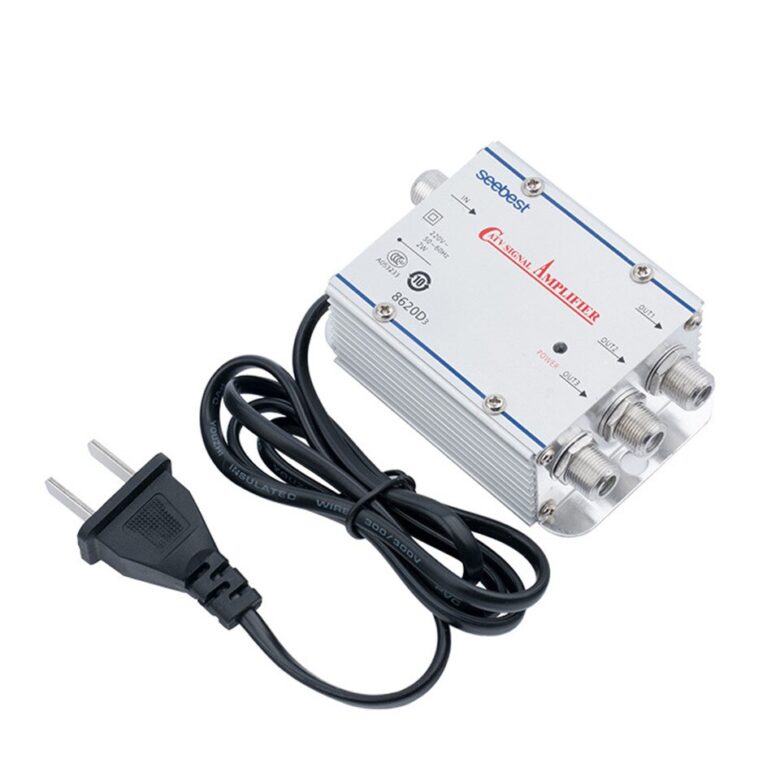
If you live somewhere out of the city, then you need to see if you need an amplifier. In some cases, you don’t need it, and in some cases, it can do more damage than good.
Because of that, you should check things out on your own. Don’t buy the amplifier before you position and install the antenna and wait for at least a week to see if you actually do need it. Third-party services can try and sell you an amplifier even if you don’t need it, and they may even sell you a unit that is not compatible with the other devices you own.
To finish this DIY project successfully, you should research and see if you can buy an antenna that comes with an amplifier, and if not, you should see which units are compatible. Don’t go for the strongest one you can find on the market, and don’t boost the signal too much. If you do, you will experience even worst signals than before. Sometimes just fixing the positioning of the antenna will solve most issues, so test things out before you invest in additional gear.
Final Thoughts
These are some of the benefits that come with a DIY installation of the areal units. However, you need to be really careful when doing these things on your own and recheck every step you’ve taken.
Make sure you have the right antenna type for your needs. There are many different models and some work better than others. If you live in a rural area, and if there is no broadcasting tower near you, then you might want to go with something like a multi-boost or a high gain aerial. In case you live in the city, and there are a lot of households around you that use antennas, you want to find something that will not let other signals interfere. For that reason, you should choose a wideband antenna, or something similar. Talk to the provider or the seller about the differences in the aerial types, and do a lot of research before choosing the right type.
It is always good to ask for help from a friend, so if two things need to be done at once, for example, checking the reception when the antenna is in the other room, you can do them together. In case you notice you are struggling with this, it is always better to hire a professional service, than to risk damaging the equipment.