Owning a home means you will always have something to do, something to replace and a lot of money to invest in a bunch of different things.
What if we told you that there are some things that you can do yourself if you put a little effort in and in the process save yourself a lot of money? Now when it comes to your property there are plenty of things that can go bad and either need fixing or replacing. One of the most expensive things that we hear all the time about is the water heater. It seems like overly complicated things and it seems like it is difficult to replace or fix but it rather isn’t.
If you are a bit handy and if you got the right tools, replacement of the water heater should be a breeze. If you are not then we would suggest you call the professionals and let them handle your water heater installation.
Without any further ado, we will dive straight into this and we will give 10 easy DIY tips on how to replace a water heater and save yourself a lot of money in the process. Keep reading till the end.
Preparation
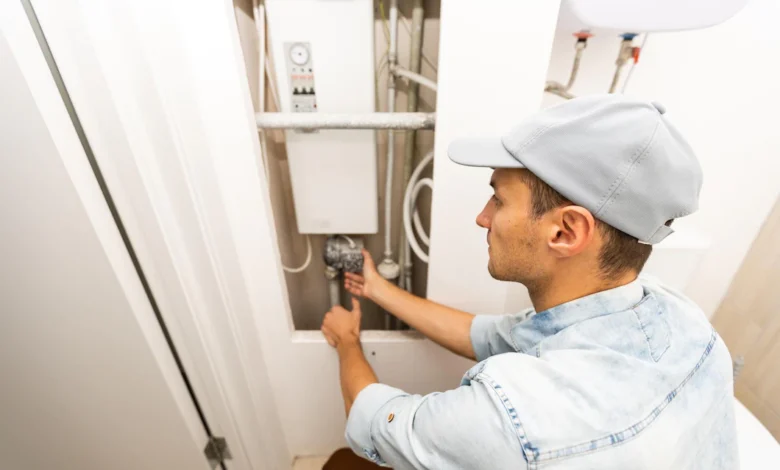
If you want to avoid a mess or any potential injury you need to prepare for the job. Whenever you are replacing or fixing the water heater the common sense is to turn everything off, and close the gas valve and the cold water one as well. If your valves do not have any sort of markings on them showing which is on which is off position, the rule of thumb says that if your valve is parallel to the line leading in it is open while the perpendicular position should mean that it is closed.
Release the water
Now, this is more important when you are replacing rather than fixing the heater, again depending on the issue it has, but you really need to get to the closes hot water source, open it, and then attach a hose to the tank drain and open it so all the water can drain out. If you have a floor drain the water there if not then you can drain it outside or in a bucket if it is an elevated water heater. Whatever the condition dictates, make sure to go by them.
Disconnect the water heater
Now you will see some lines going in and out of the water heater and this is where you disconnect all the incoming and outgoing water lines from the top using a pipe wrench or channel locks. If any other lines or cables are going in make sure to disconnect them as well but memorise where they have been or mark them for when you need to attach them back on.

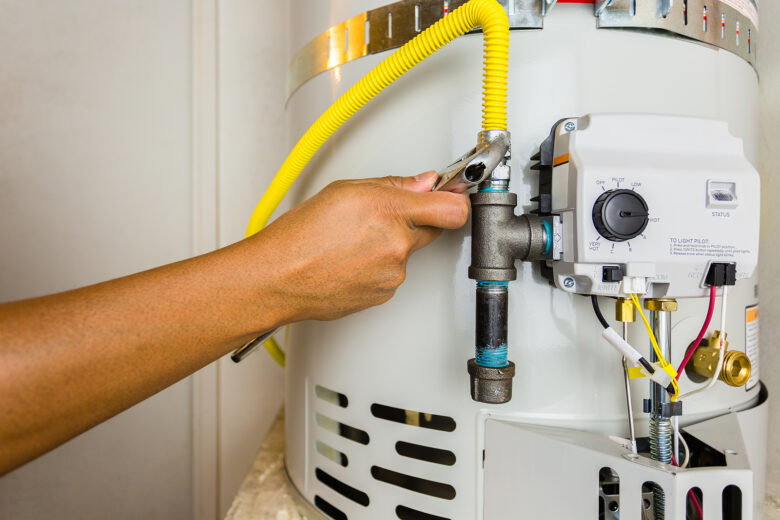
Gas line and other straps
For the replacement of the water heater, you will need to disconnect other things like the all-important gas lines and the earthquake or any other straps that are keeping the water heater in place. Some water heaters have temperature and pressure valves or TPR valves that are connected to the hose. Make sure to unscrew that one as well. It may be in plain sight it may be hidden behind, try to go around it and check everything.
Removal
After everything is undone and unscrewed you can remove the water heater but be sure to have some help.
Although all the water is out and it is only the shell it may be big or bulky and hard to manoeuvre on yourself.
Have a friend or family member ready to help you take it out.
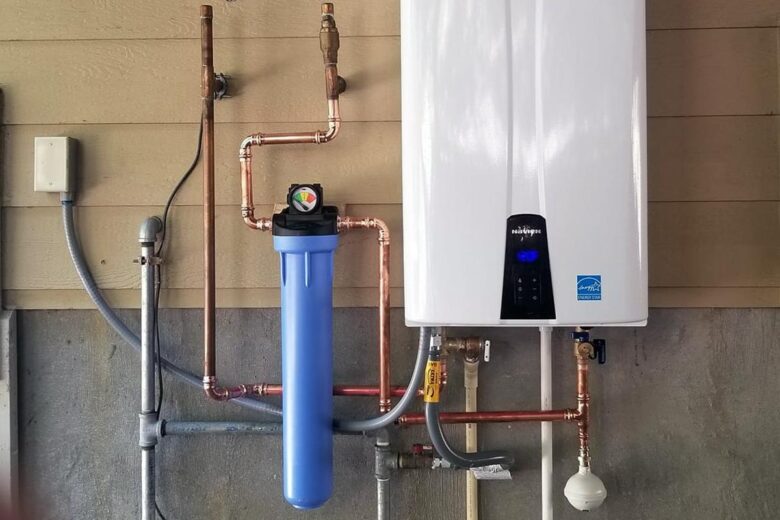
Connecting everything back up
When the old one is out and when you have placed the new water heater in, you need to do a reverse of what you were doing before. You need to connect all the lines back and you can start with the water lines. Use Teflon tape to make sure you don’t have any leaks. The next is the gas line and you need to be careful with this one.
When you have everything connected and tightened turn the gas back on and check for leaks on the joints with a smell test or spray soapy water on those joints and see if bubbles are forming.
Vent top
Don’t forget to reconnect or connect the vent top. Some water heaters have it some don’t it all depends on the make and model you got. Most of them do as far as we are aware so make sure you connect that when you put in your new water heater.
Refilling and testing
At this moment you will want to turn on the hot water in a sink that is the farthest from your water heater and open your cold-water supply on the water heater. Here you have to check for any leaking or dripping of the water and tighten all the connections if necessary. The sign you opened the hot water on will sputter and blow out air that is inside the tank until it fills and then you will see a steady stream of cold water.
Ignite and verify
When the tank is full the next thing to do is to ignite the pilot on your new water heater and set the desired temperature. All the lighting instructions can almost always be found on the heater itself and you can use the view window to verify that it was successful. In 90% of the cases, all you need to do is turn the dial to the pilot setting, push that dial in and click on the pilot lighter button. Check that view button and make sure to see those flames on before you call it done.
Prologue the life of your tank
This last tip will be aimed at giving your water heater more time and stopping early replacements or services.
What you would want to do, ideally every six months or so is to flush your water heater and all the debris and rust that may build up within and all the sediment from the water. Repeat step 2 from this guide and fill it up back again and fire it up. This will prologue its life and allow you to remain calm and investment free for years.